Deployment Process
Steps in creating and deploying a release to prod
1. Pre-Deploy Communications
- Check with the Eng. Team if we are doing a Full Deploy or a Hotfix.
- Announce it in
#team-engineering-deploysand optionally discuss it in the eng standup
2. Find last Release
 ;
;
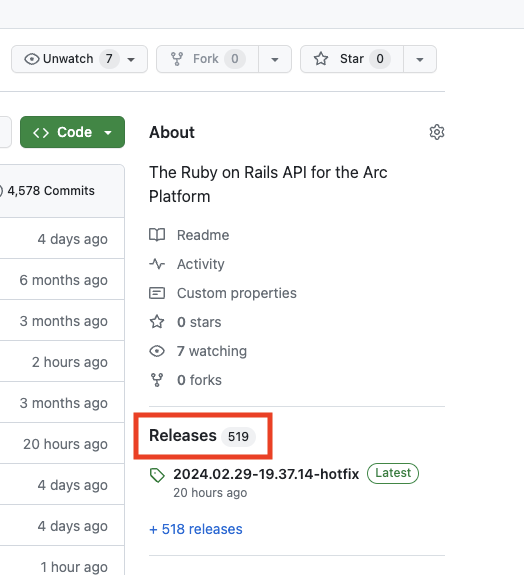
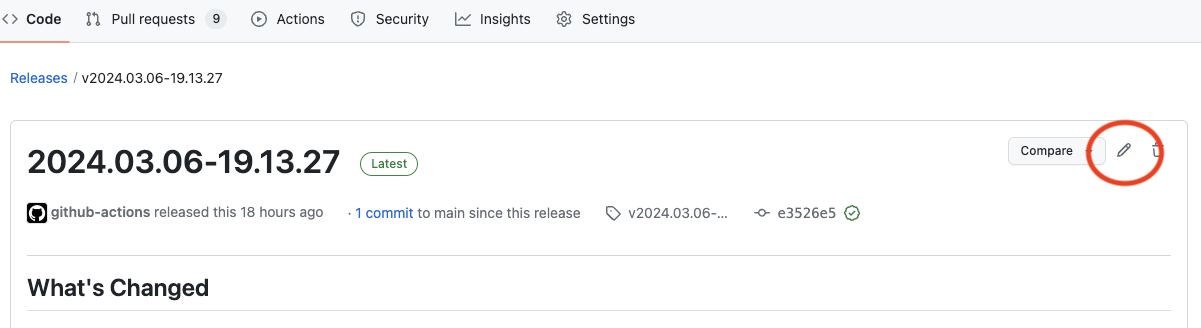
- On repo's main page, right side, click on Releases
- Note tag for last release
3. Generate list of PRs for the new release
 ;
;
- Add
/compareto repo home url, so :https://github.com/pairteam/arc-api/compare
then choose the last release by tag to compare vs main.
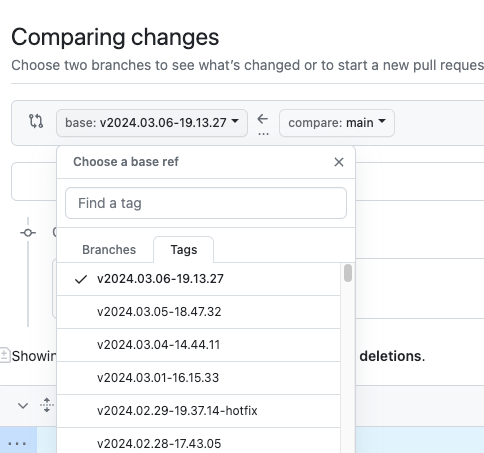
-
OR use 'Compare' button next to the last release. First, choose the latest tag in the pulldown. Then when you have the two "compare" sides up, choose
mainon the right side -
The result should be a list of PRs, under a URL that looks something like:
https://github.com/pairteam/arc-api/compare/v2024.03.06-19.13.27-hotfix...main
-
Share the URL for the list with Eng.Team and ask:
What should be excluded? Should any PR inmainnot be deployed? -
If Yes, go to step 4, if not go to Step 6
4. Removing PRs from Release List
Strategy #1 -- If you need to drop just one PR- Revert the PR you want to exclude
- Do full deploy
- Re-apply the reverted commit so it can be included in the next deploy
Follow steps in #5 below
5. Creating a Hotfix or Release Branch
- Create a new hotfix branch from the latest release tag
git checkout -b hotfix/v2024-03-16-hotfix v2024-03-16-1234-tag
- Optional: If you are not clear on the list of commits and SHAs to include, do a diff between hotfix and main:
git log hotfix/v2024-03-16-1234-hotfix… main
- Cherry pick commits from main
git cherry-pick abc12345678def-commit-sha
git cherry-pick ghi78912345jkl-commit-sha
- Compare your hotfix branch with the tag AFTER you've cherry-picked. This will help ensure you included all the commits and haven't messed it up. Also, it's useful to share that comparison with the rest of the team so everyone knows what the hotfix includes.
git log hotfix/v2024-03-16-hotfix...v2024-03-16-1234-tag
- Push the hotfix branch
git push -u origin hotfix/v2024-03-16-hotfix
- Create a DRAFT release from the hotfix branch (Deploy Process Step 7)
- Update the Release notes manually (Release notes are found by clicking your release under the Releases section of the main github repository page)
- Publish the Release (Deploy Process Step 8)
- Look at the build-and-deploy log scroll to see if issues as workflow completes
- Delete the hotfix branch
(1) We use the 'trunk-based branching model' which means only one branch, main. All changes to hotfix branches are merged into main, so no divergence, no "cherry-pick hell". Releases are just tags to commits.
(2) We are always roll-forward on hotfixes, not roll back. (No easy way to revert a migration)
(3) If you need to merge multiple dev branches into each other, merge OLDEST branches UP into NEWER branches, finally merging into main.
6. Pre-release checks
- Freeze Announcement (Announcement not necessary for hotfix releases)
When beginning release, message to Eng. team:
We are starting a deploy, please hold off merging to main.
- Check that Github Service is available
- check
#ntfy-external-servicesslack channel - click on link to see the GitHub Incident page, especially if Actions is not green
- hold off till you get an all-clear from Github
- Are the dependencies on
arc-web? - Are there changes to
arc-forms? - Are there migrations in this release?
- Migrations will be applied automatically after a successful deploy, before the service re-starts.
7. Create DRAFT release
 ;
;
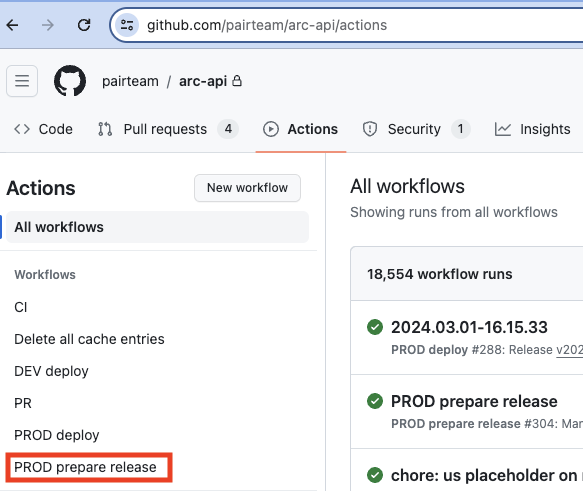
- Choose Actions tab
- Click on 'PROD prepare release' on left side. You'll get a list of workflow runs.
 ;
;
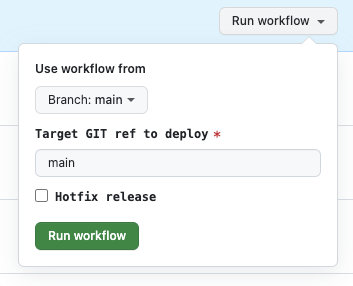
- Open the
Run Workflowpop-up window on the right side. Choose:
From:should beBranch: mainTarget refshould be:mainif full deploy- -- OR --
- Specific hotfix branch from Step 5.
- Click
Run Workflow. This creates your DRAFT Release, with notes.
8. Publish the Release
- Go back to main repo page and click on Releases. Your new Draft Release should be at top.
- Open your Draft Release. (It should have a DRAFT chip) Then, as typical steps:
- choose edit icon upper right
- check 'Set as latest release'
- choose 'Publish Release'
This will publish the release.
- When you want to re-deploy a past release, e.g. rollback
- trigger 'PROD Deploy' workflow on the left
- choose tag to deploy.
9. After Release
- Check
#ntfy-alertsfor notifications - Open up ARC in prod and check features
- Check if Migrations Applied
- Go to Looker
- SQL Runner
- Run a statement checking your changes
- Go to Looker
- Notify in
#team-engineering-deploysthat the merge freeze is done
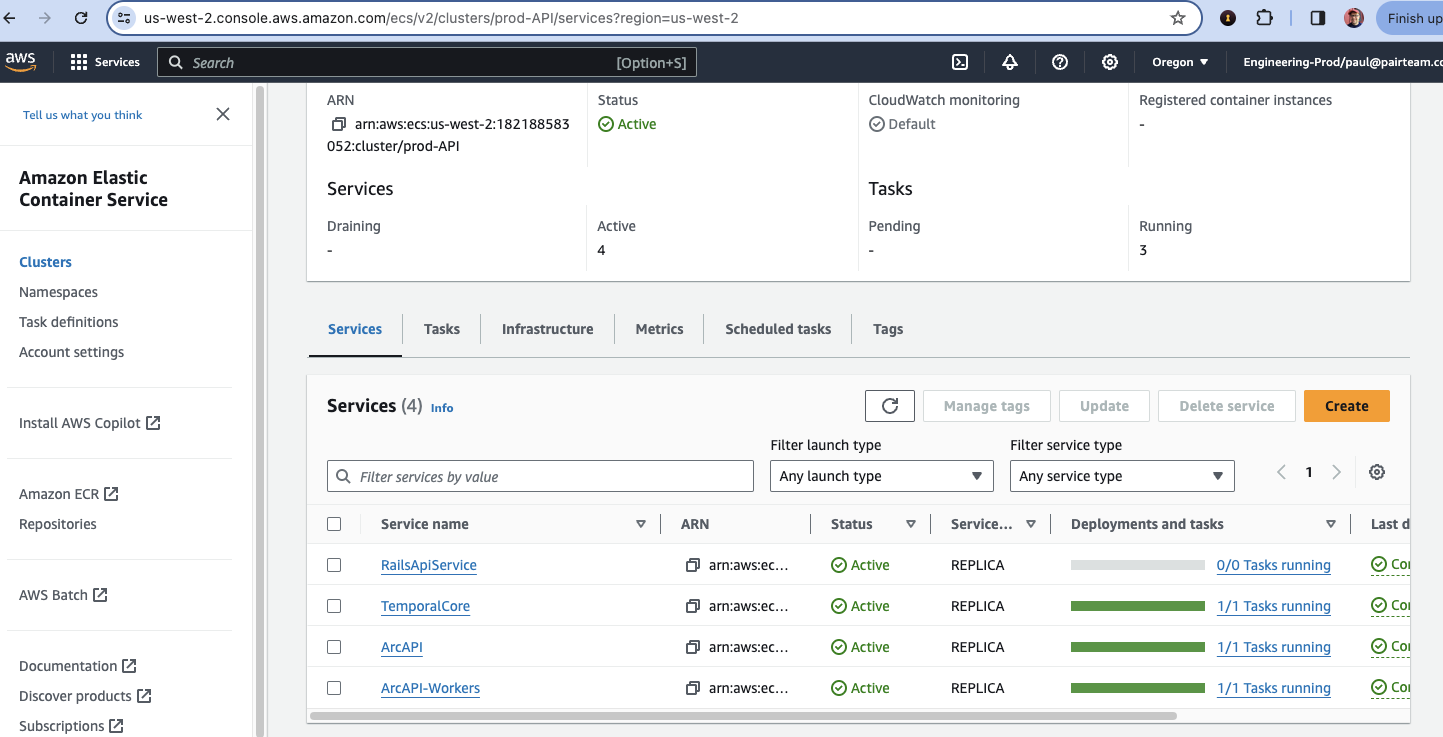
10. Verify in AWS (Optional)
- Log onto our AWS console https://pairteam.awsapps.com/start
 ;
;
- Look at ECS service
- prod is
US-west-2(oregon) - dev is
US-east-1(n. virginia)
- prod is
- Make sure board is all-green
- If issues - check logs
- under:
cluster: prod_api
- under:
- If issues - check logs
11. Publish Summary of New Features
If the new release has changed LCM/CES workflows:
- huddle with Max/Product Team on a communication plan
- create short summary of new user-facing features
- include screenshot or video to illustrate changes
- link to any external training documents or video
- post an update in
#team-ecmchannel
More guidelines in Eng. Handbook: How we Communicate.
12. Deploying to DEV
Deployment to DEV is triggered autmatically when a PR is merged into main